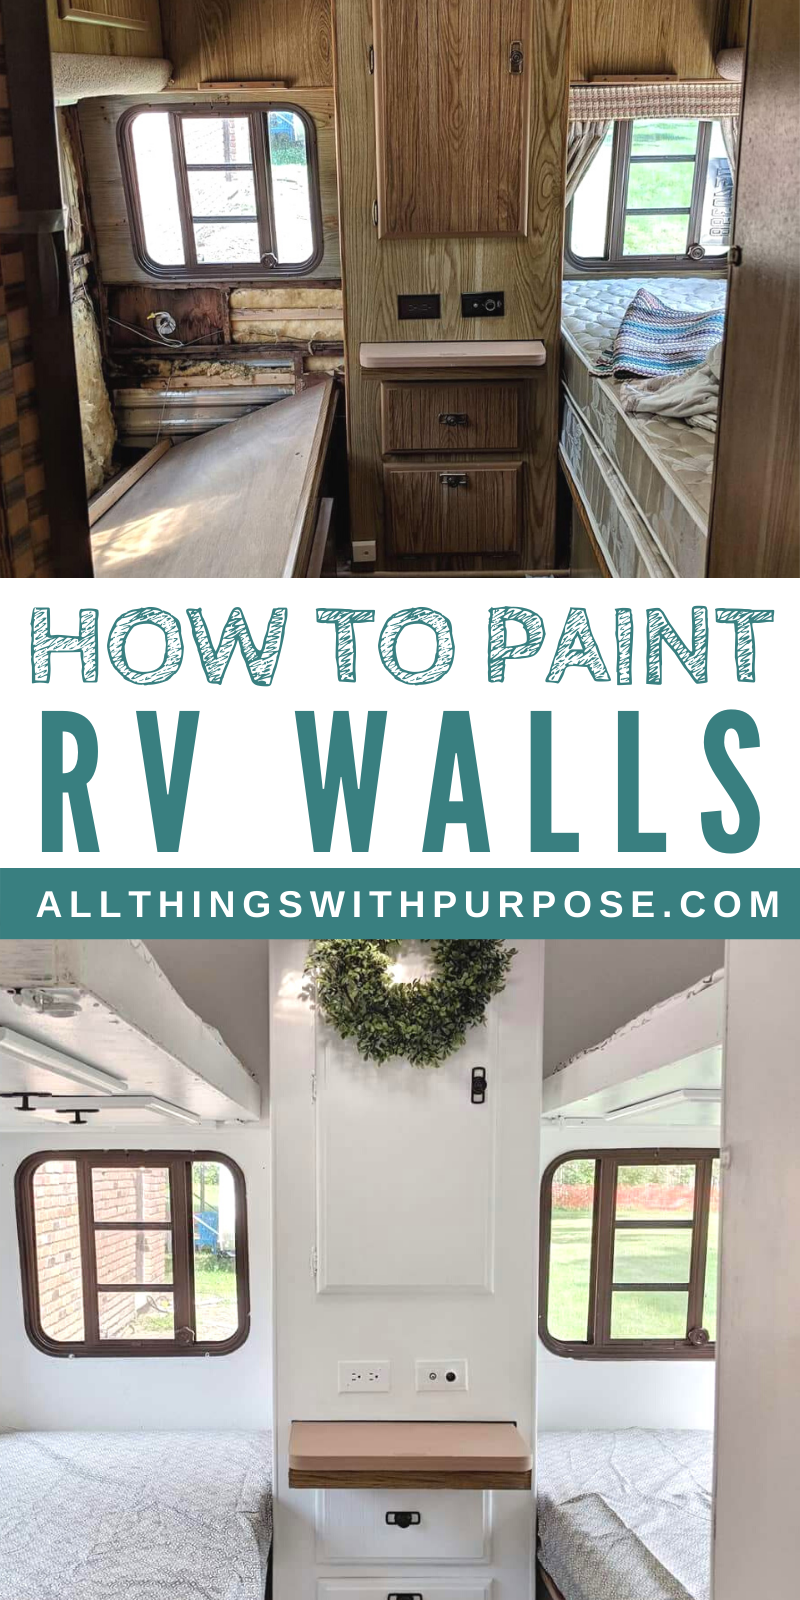
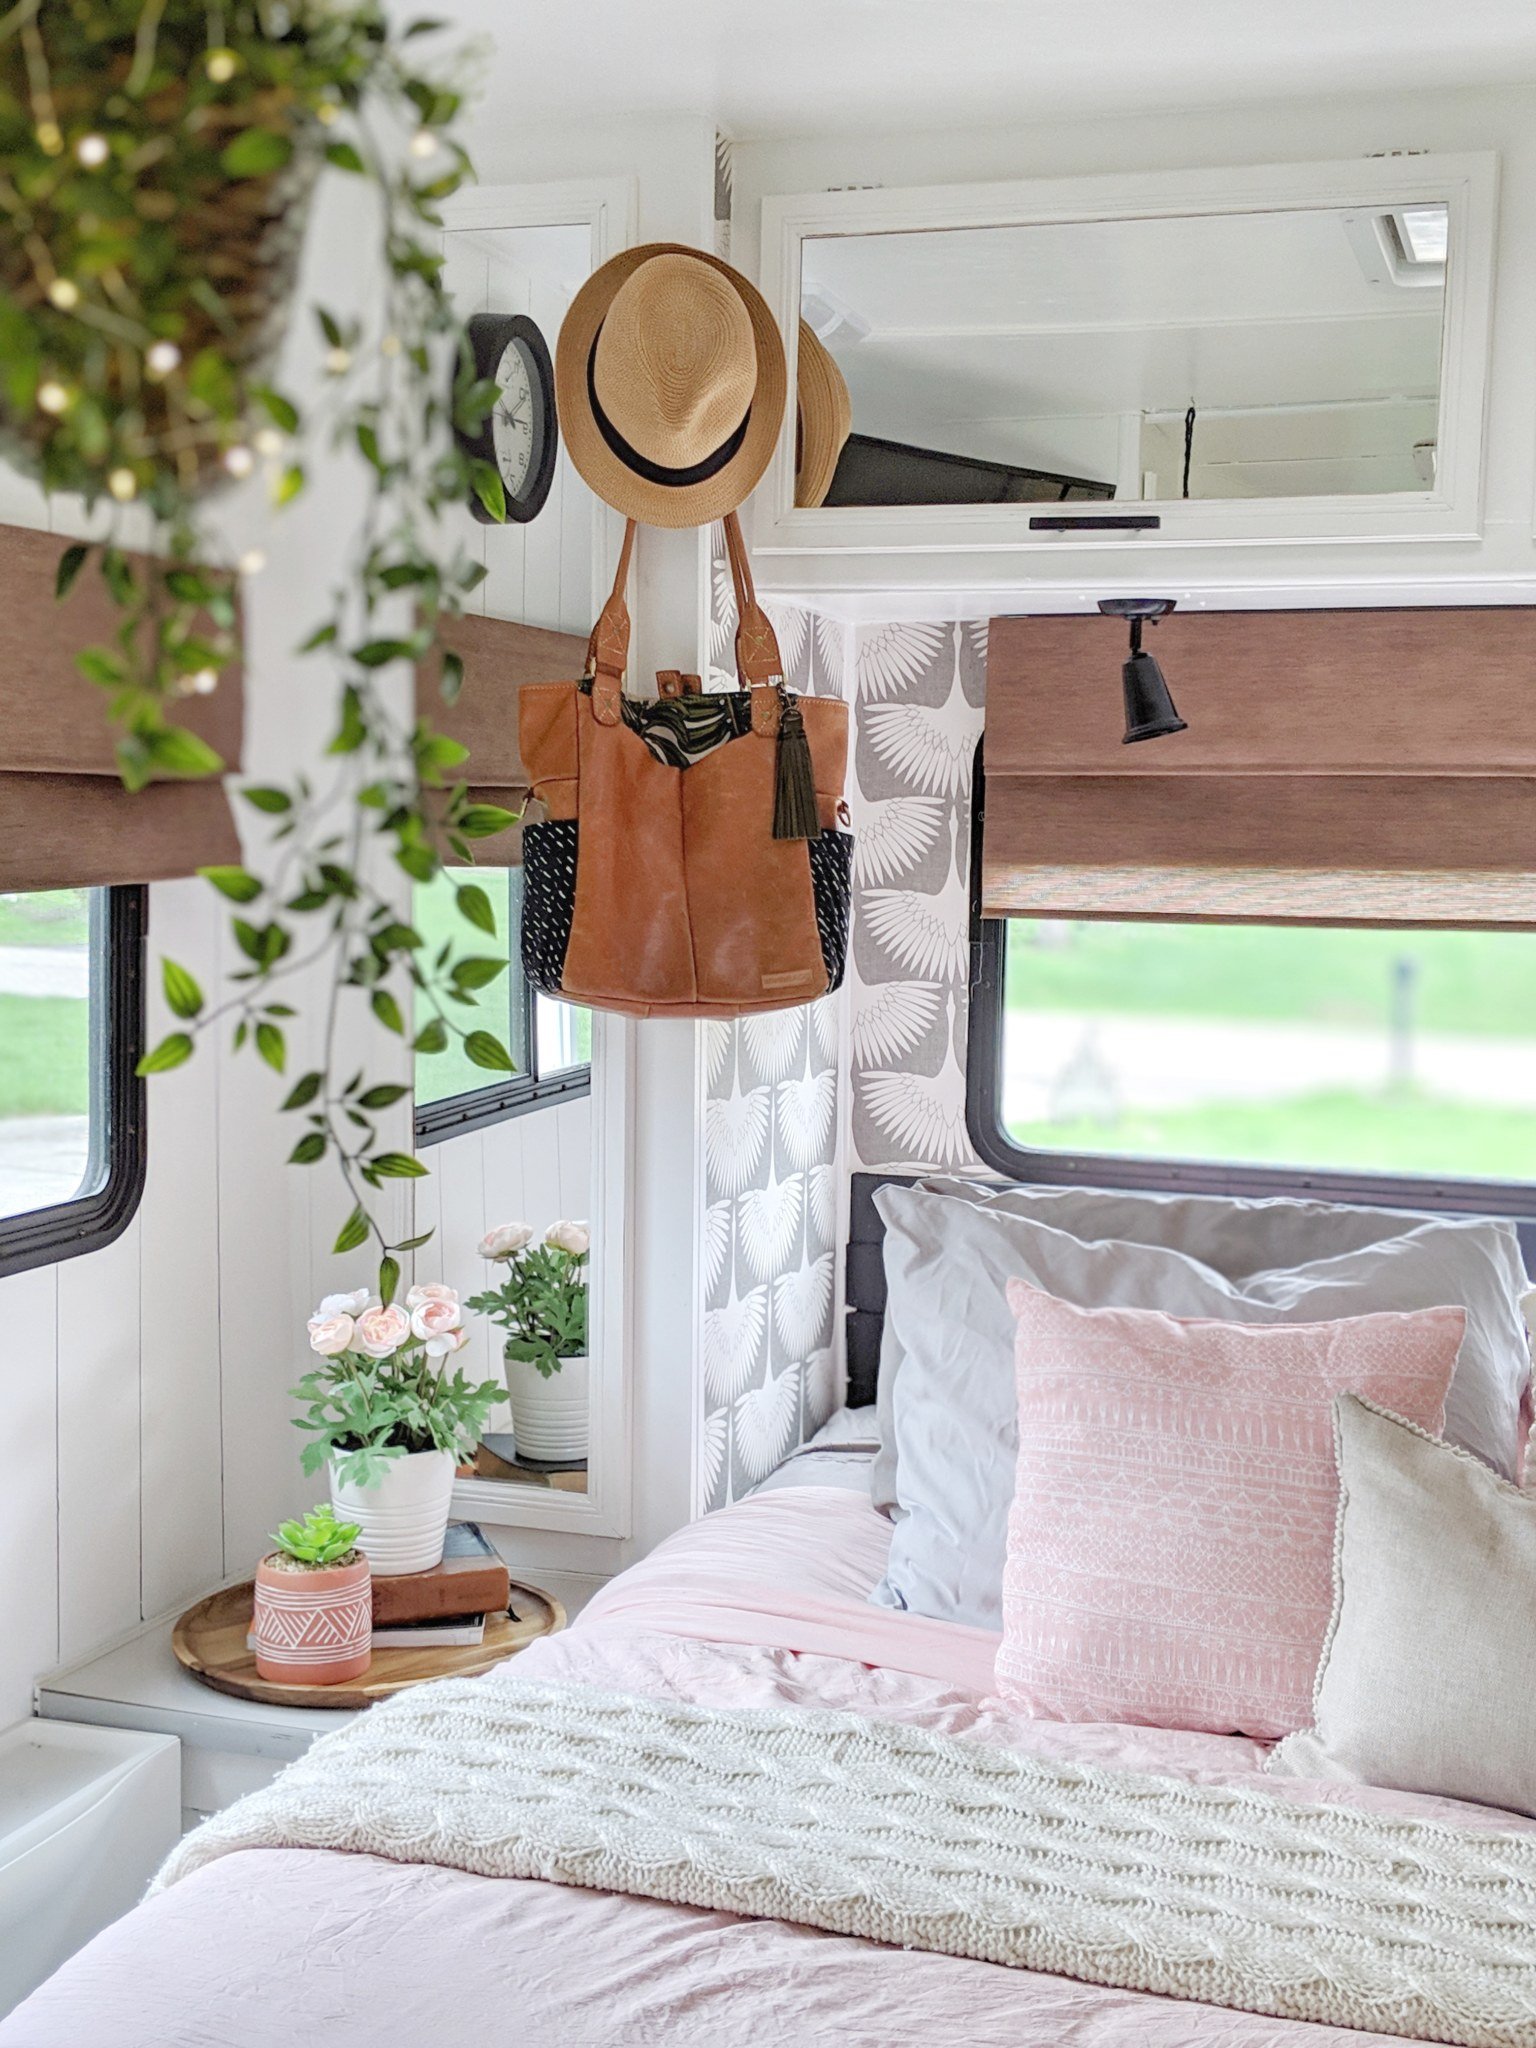
I have written specifically about painting the exterior of an RV, merely what near the interior? I receive numerous questions about this topic every week, so I figured it was about time I shared my tips! Here is everything you need to know about painting the interior walls of an erstwhile RV.
About RV Walls
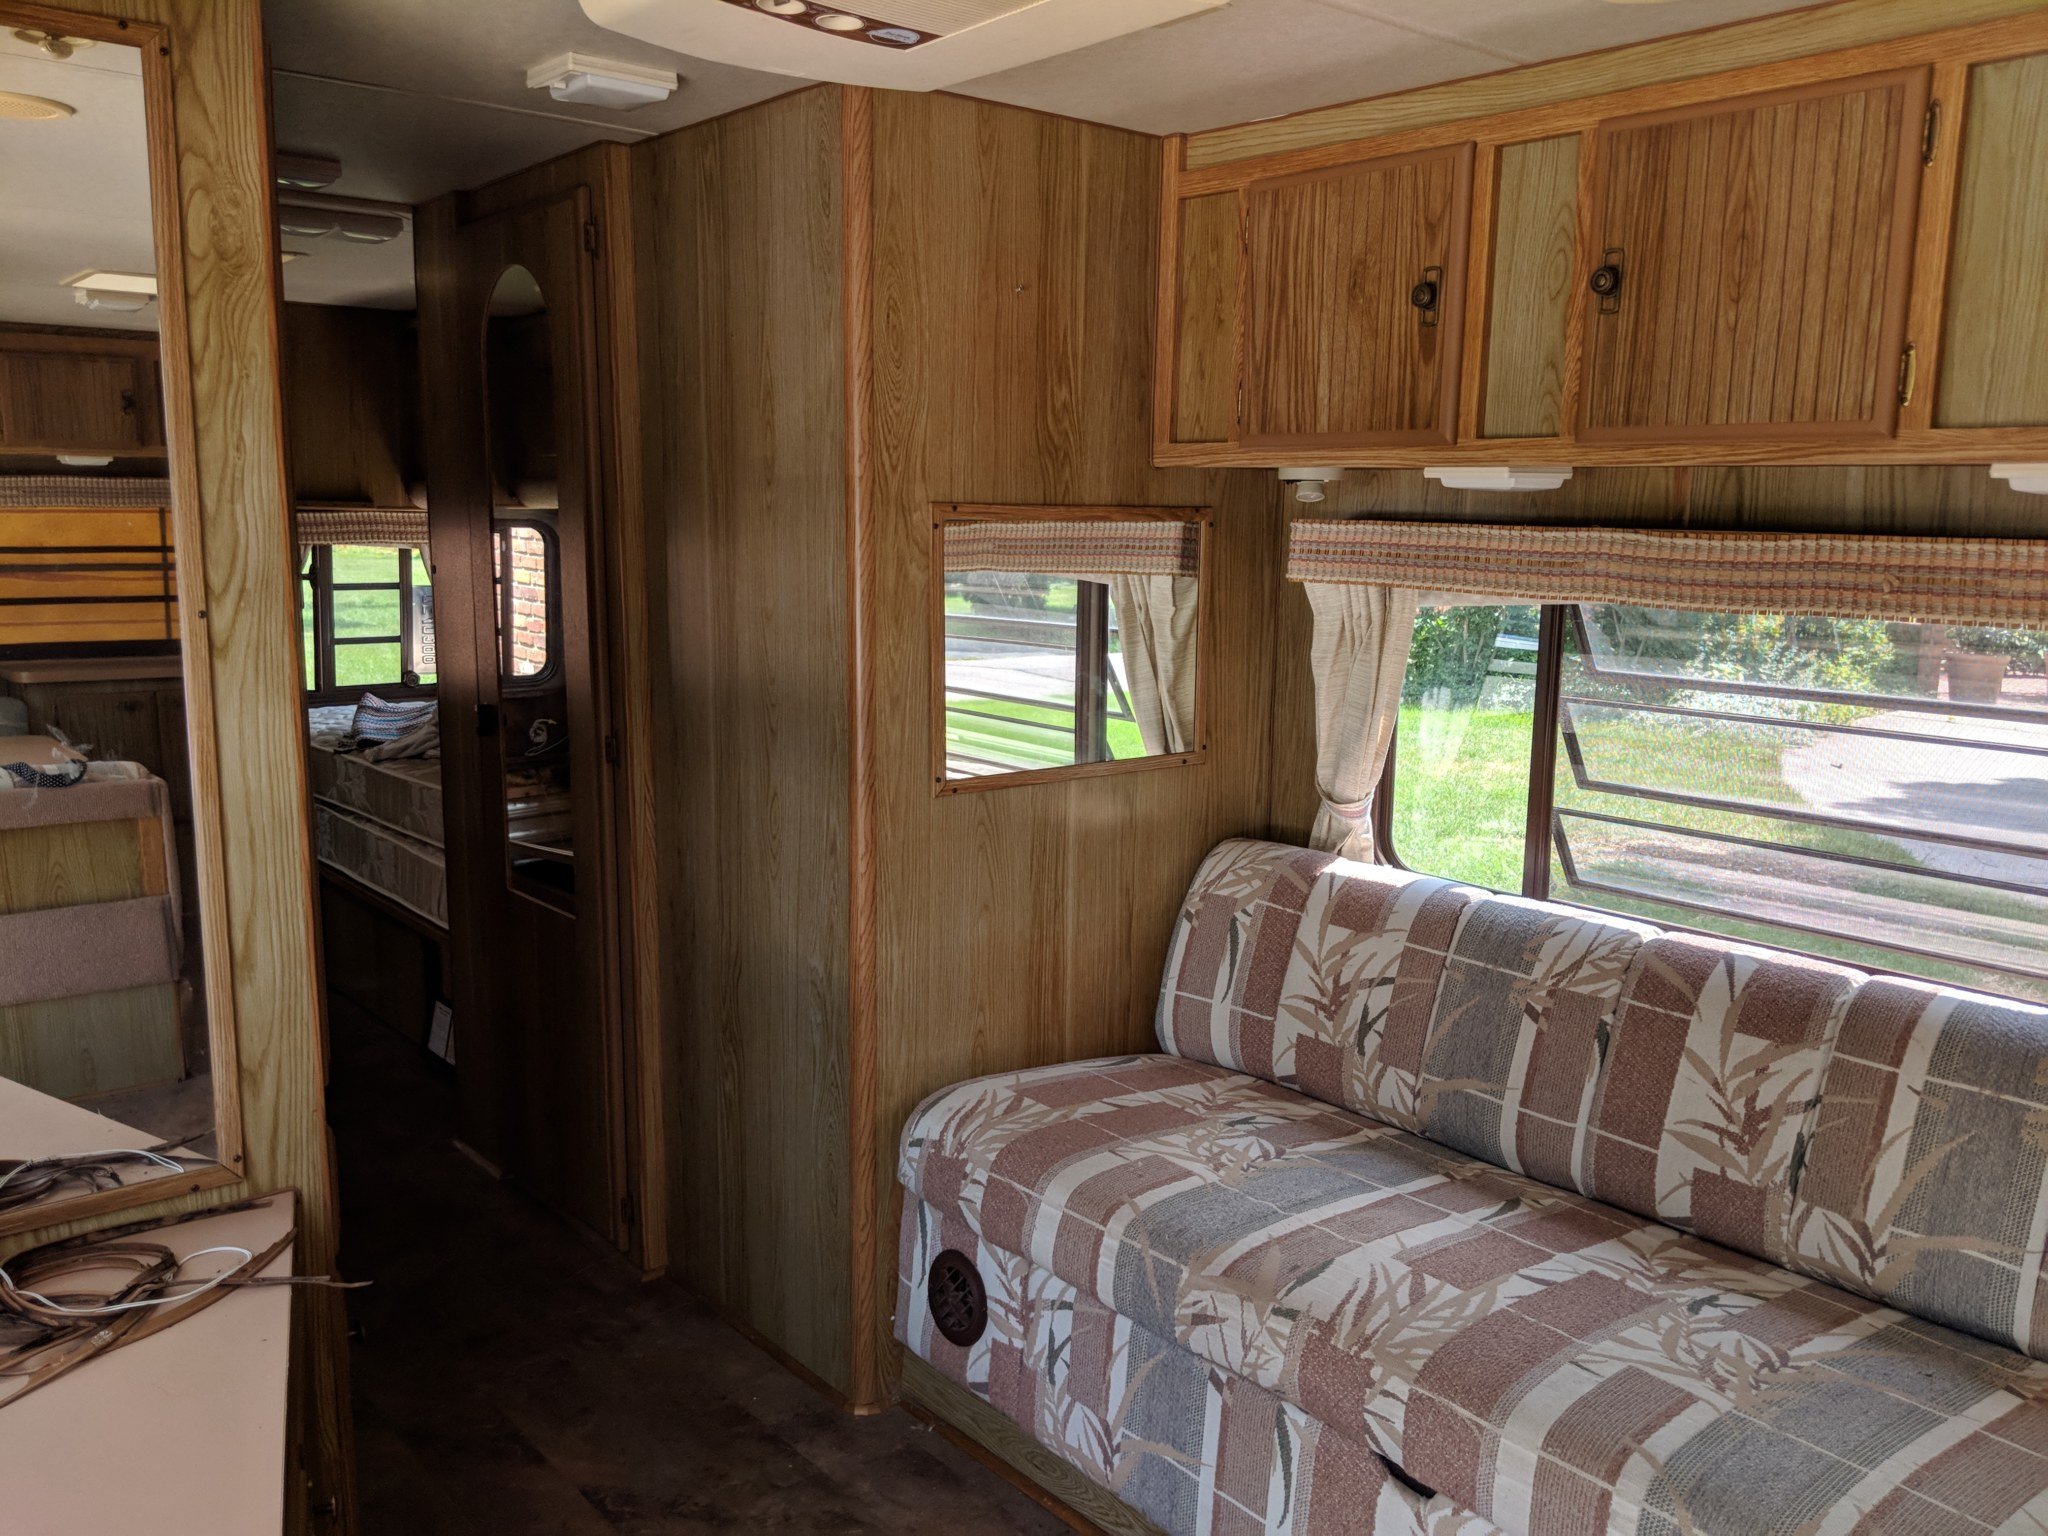
The first question most people ordinarily ask is in regards to the walls themselves. You've probably noticed that near older RV's were manufactured with either a fake woods paneling or a sparse wallboard that is covered in what seems to be wallpaper. Offset off, do non try to remove this wallpaper. If you are dealing with a camper that has had some water damage or in that location are spots where this wallpaper is bubbling or rippling, I'd suggest you inspect this for further damage before proceeding. I have seen some rippling in the wallpaper around windows, due to aging or humidity, but not necessarily water damage. If it's pocket-sized, I suggest sanding the area down, or using a knife to cut away the rippled area. If it is really bad, you may need to cover this area with new wallpaper, paneling or trim. But like I said, don't attempt to pare back the wallpaper or you will have created way more than piece of work for yourself.
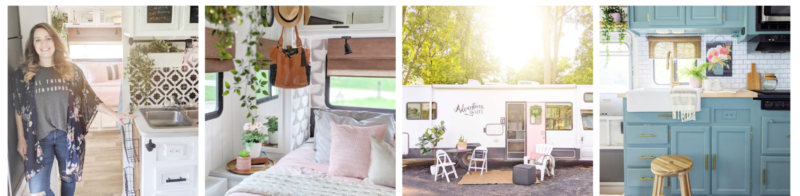
Read: How to Paint the Exterior of an RV
Prep Work
Earlier painting the interior walls of your RV, the prep piece of work is just as of import. Brand sure your walls are clean, free from grit and grease. In many cases, a high quality paint volition accept no problem adhering to a clean, dry wall without the use of an extra chemical. Just, if you are dealing with a really one-time RV with exceptionally dingy walls, you may desire to use a TSP substitute like Krud Kutter. If, by chance, your walls are really covered in real wood, you may want to use a liquid sander beginning. This will remove the glossy finish! I really like this one.
Paint and Primer
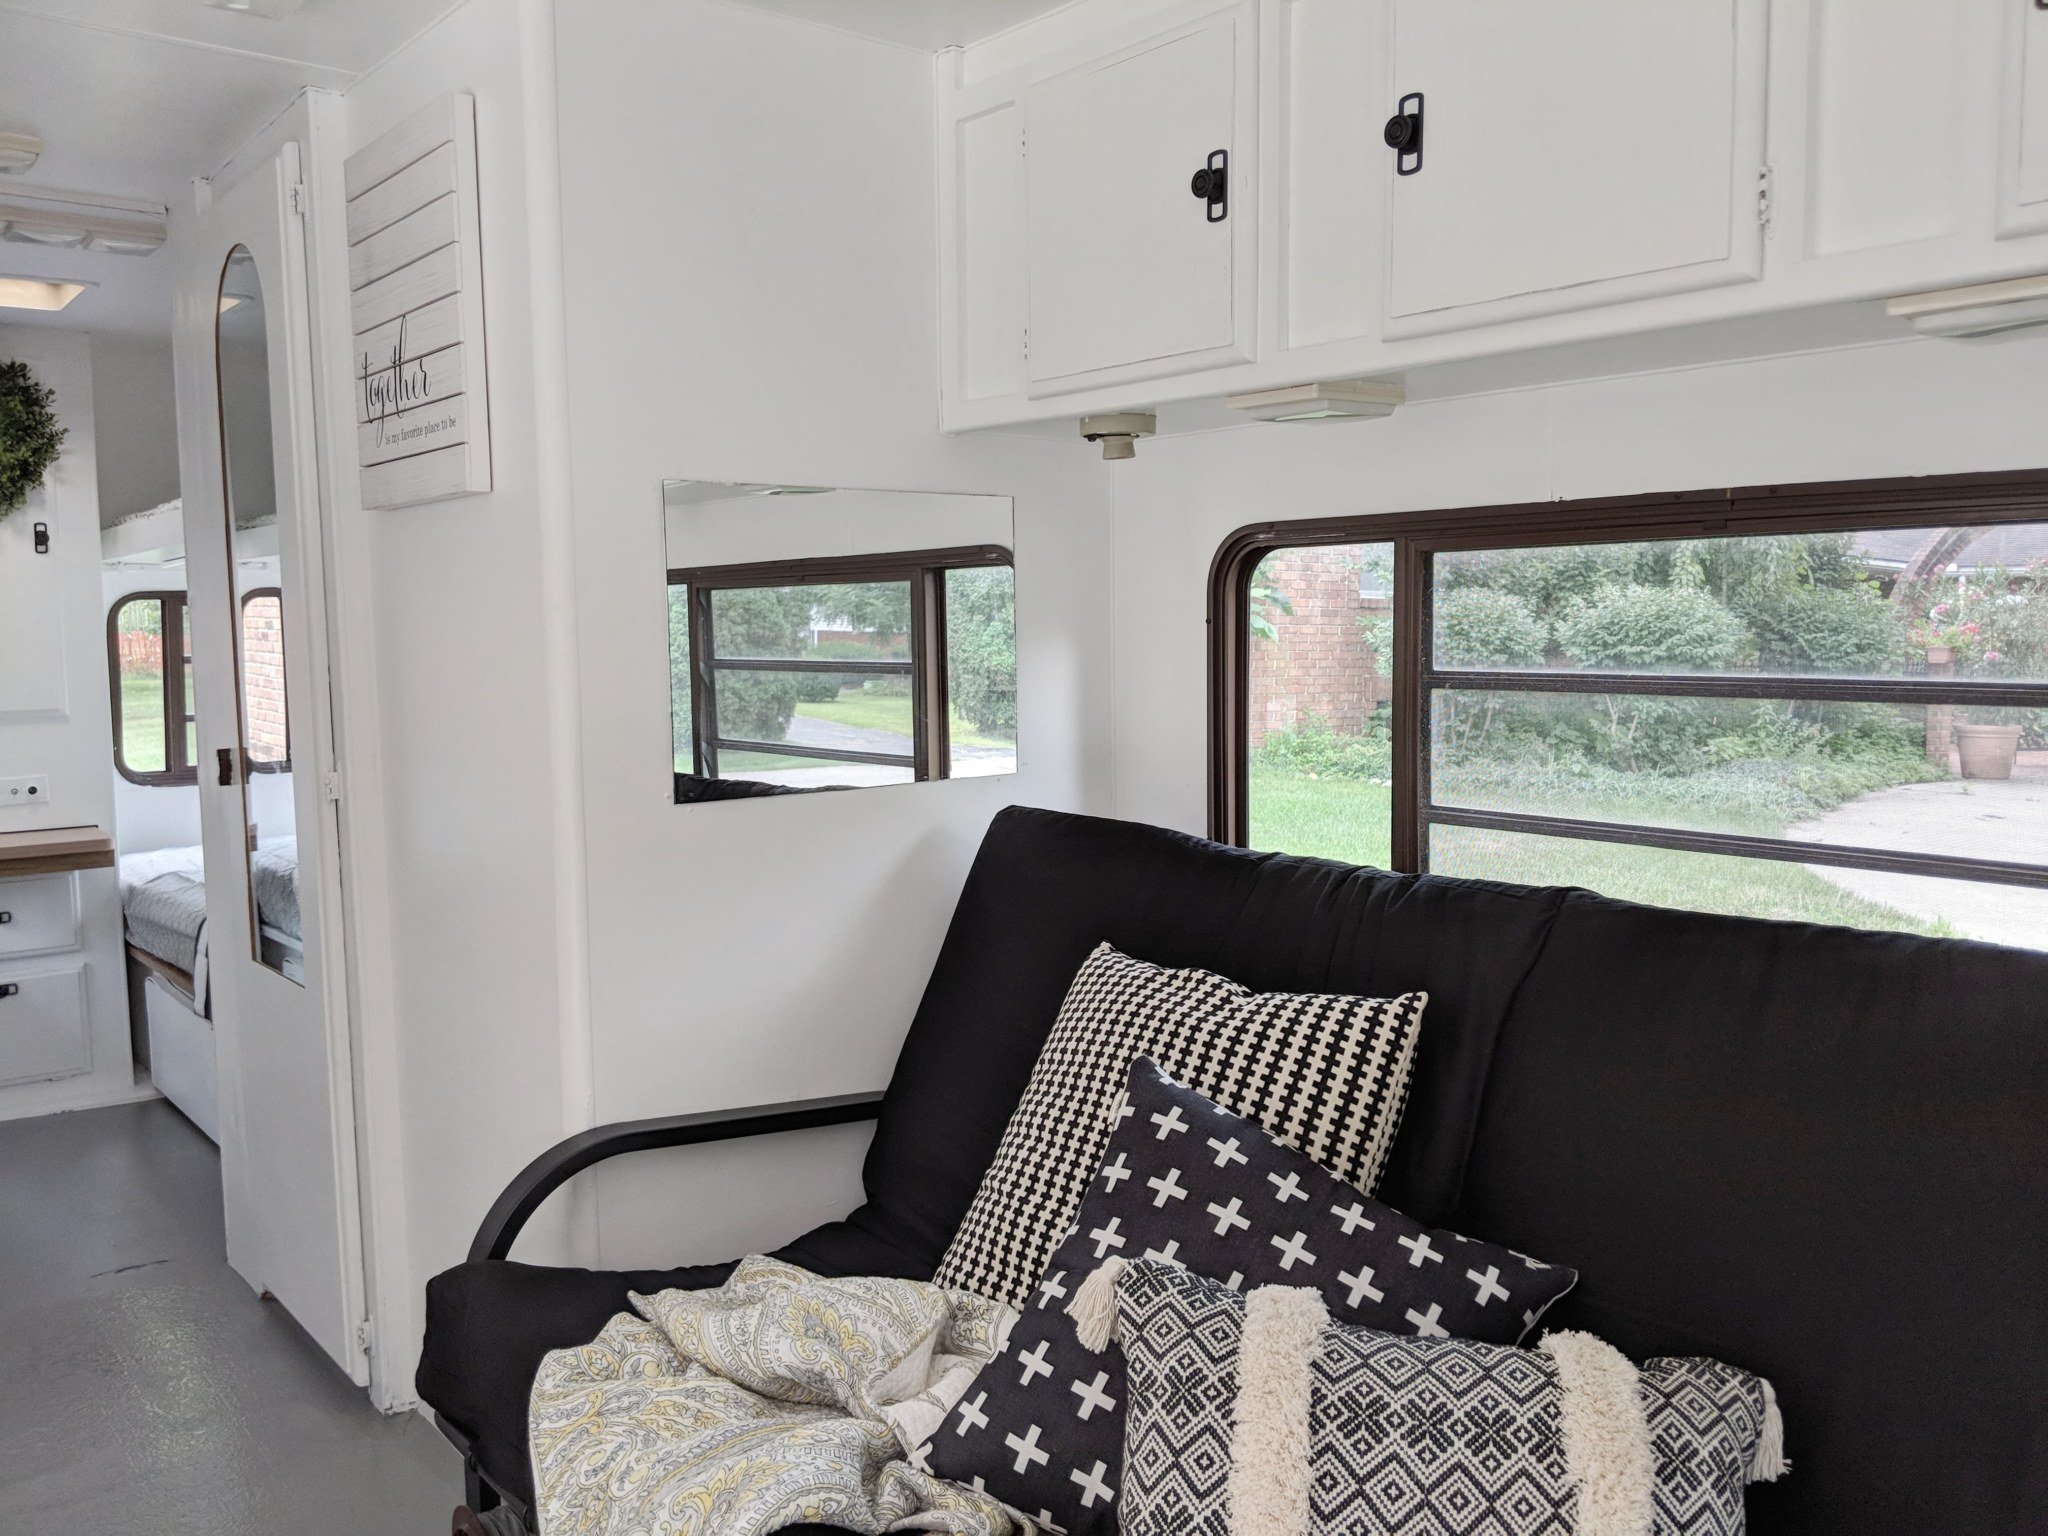
I accept had slap-up success with Behr Marquee paint and primer in i on regular walls or over wallpaper. Information technology covers great without the apply of an additional primer and almost e'er covers in one glaze! On the other manus, I take also used a bonding primer similar Stix or Gripper, and then topped with a less expensive paint. As long as your surface is clean and dull, you shouldn't need anything fancy. If you are covering wood or plastic/fake wood or if information technology has any kind of gloss to it, I HIGHLY recommend using a bonding primer start. I also recommend using a low luster pigment with a satin or eggshell finish. Semi-gloss will prove up likewise many imperfections, but flat paint will non ware well in high humidity. I do not recommend using oil based paint. I tried it one time thinking it would adhere better, and had problems with it flaking off.
"If you are roofing wood or plastic/fake wood or if it has any kind of gloss to it, I HIGHLY recommend using a bonding primer first.
Here is the summary of what I suggest you use:
Stix or Gripper primer over woods paneling, plastic or sleeky surfaces
Latex paint
Eggshell stop, not apartment or semi-gloss
Clean and prep the surface with TSP substitute like Krud Kutter and allow to thoroughly dry
Sand down or cut abroad any wallpaper that is bubbling or rippled due to historic period
Cheque for h2o damage before painting
Use bonding primer like Stix or Gripper if there is any sheen to your walls or if painting over any kind of wood paneling
Other Options for Damaged Walls
If you are trying to correct an area that is badly damaged or imperfect, you may want to cover information technology with something other than paint. Clean the surface equally best as y'all can and and then consider covering with one of these options. Disclaimer: don't embrace damage without first correcting the issue. If there is a leak, prepare the leak and remove damaged wood, don't just comprehend it upwardly and ignore the problem!
Wallpaper: I have used both pare n' stick and pre-pasted wallpaper. I take had decent success with peel north' stick, just it is non recommended for exterior walls that are prone to condensation due to the changes in whether. If using a pare northward' stick, information technology is generally recommended that y'all use an additional agglutinative. Don't cover every wall in wallpaper, but use it as a great emphasis to cover damaged walls!
Pare n' stick tile: I love using skin n' stick tile in my RV's. Information technology is inexpensive, like shooting fish in a barrel to install and doesn't add boosted weight. Check out my Amazon Shop for some of my favorite options!
Vinyl tile: I have used vinyl tiles as an accent in my vintage trailers. Information technology'southward lightweight and piece of cake to cut. Find some here: Vinyl Tile
Paneling: I wouldn't ordinarily recommend adding a lot of paneling if weight is a business organization, but at that place are so many bully options out there to cull from! From thin wood planks, to vinyl tile panels and false brick, create the wait of a focal wall that also reinforces or covers over damage.
Pin-It for Afterwards!
Sarah is a second generation homeschooling mom. She lives in Metro Detroit with her husband Jay, 5 kids and dog, Edison. They love staying active as a family and going on trips in their renovated RV's. Sarah loves to sing, make pretty things and eat pizza.
0 Response to "What to Do With Peeling Wallpaper in Rv"
Post a Comment